2011-2014 KTM Duke 125 Repair Manual
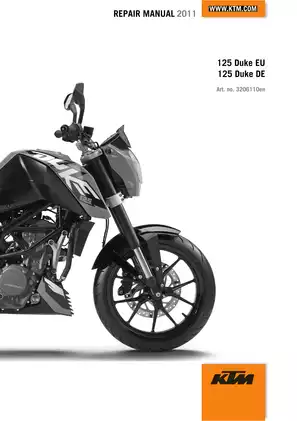
Service manual for the 2011-2014 KTM Duke 125 covering assembly, disassembly, and maintenance procedures. Ref: 3206110en
Manual Preview

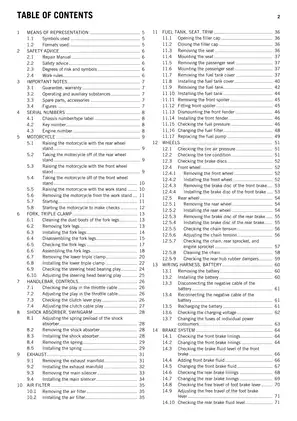
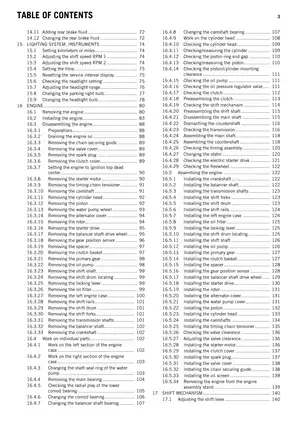
Sample pages from the 2011-2014 KTM Duke 125 Repair Manual manual


Purchase & Download
Models Covered & Key Technical Specifications
KTM Duke 125 (3206110en) - 2011-2014
Original Original Catalog | Collection.
- Measured Engine Specs: 47.2 mm establishes the stroke length for engine performance.
- Integral Fastener Specs: For component security, M6 controls the thread size specification Benchmarks.
- Operational Tolerance Values: 0.08 mm signifies the maximum wear limit for the cylinder bore Configuration.
- Critical Thermal Rating: The engine cooling system maintains 150 °C (302 °F) across all operating Sequences.
- Factory Cold Start Limits: With the engine cold, 0.08… 0.12 mm defines the intake valve clearance Baseline.
- Established Velocity Specs: 1,450 rpm signifies the maximum idle speed setting Parameters.
Professional Workshop Service Manual & Technical Specifications
Essential Instructional Diagnostic Manual: KTM Duke 125 Manual for 2011-2014 Service-Catalog
Service-Level: Duke 125 (3206110en) // Maintenance-Category: Bike / Engine Logic // Service-Level: Repair Procedures.
| Identifier | Baseline | Calibration-Spec |
|---|---|---|
| Engine Displacement | 124.7 cm³ | 7.61 cu in |
| Fuel Tank Capacity | 10.5 l | 2.77 US gal |
| Front Brake Disc Diameter | 280 mm | 11.02 in |
| Rear Brake Disc Diameter | 230 mm | 9.06 in |
| Front Suspension Travel | 150 mm | 5.91 in |
| Rear Suspension Travel | 150 mm | 5.91 in |
Reference chapters include
Engine
Methodically requiring engine system analysis, this manual covers detailed procedures for engine removal, disassembly, and reassembly. It documents critical engine component specifications and provides guidance on engine overhaul processes.
Engine Tolerances and Wear Limits
Rigorous inspection of engine components is documented, including detailed measurements for cylinder bore diameter, piston diameter, and piston/cylinder mounting clearance. The manual specifies wear limits for these critical parts to ensure proper engine function and longevity.
Engine Tightening Torques
This section provides essential torque specifications for all engine-related fasteners. Proper torque values are crucial for ensuring the integrity of engine assemblies and preventing leaks or component failure.
Chassis
Guidance on chassis maintenance is provided, including procedures for fork and shock absorber inspection and adjustment. The manual details the correct methods for cleaning and lubricating chassis components to ensure optimal performance and rider comfort.
Brake System
Comprehensive information on the brake system is included, covering front and rear brake linings, brake discs, and brake fluid. Procedures for checking and changing these components are clearly outlined to ensure rider safety.
Wheels and Tires
Maintenance procedures for wheels and tires are detailed, including checking tire air pressure, tire condition, and brake disc wear limits. Proper tire maintenance is essential for safe handling and extended tire life.
Lighting and Instruments
Guidance on maintaining the lighting system and instruments is provided, covering headlight adjustment, parking light bulb replacement, and instrument cluster functions. Ensuring these systems are operational is key for safe operation.
FAQ
Customer Reviews
Read what our customers say about this KTM Bike manual and share your own experience.
Add a Review
This policy contains information about your privacy. By posting, you are declaring that you understand this policy:
- Your name, rating, website address, town, country, state and comment will be publicly displayed if entered.
- Aside from the data entered into these form fields, other stored data about your comment will include:
- Your IP address (not displayed)
- The time/date of your submission (displayed)
- Your email address will not be shared. It is collected for only two reasons:
- Administrative purposes, should a need to contact you arise.
- To inform you of new comments, should you subscribe to receive notifications.
- A cookie may be set on your computer. This is used to remember your inputs. It will expire by itself.
This policy is subject to change at any time and without notice.
These terms and conditions contain rules about posting comments. By submitting a comment, you are declaring that you agree with these rules:
- Although the administrator will attempt to moderate comments, it is impossible for every comment to have been moderated at any given time.
- You acknowledge that all comments express the views and opinions of the original author and not those of the administrator.
- You agree not to post any material which is knowingly false, obscene, hateful, threatening, harassing or invasive of a person's privacy.
- The administrator has the right to edit, move or remove any comment for any reason and without notice.
Failure to comply with these rules may result in being banned from submitting further comments.
These terms and conditions are subject to change at any time and without notice.
Reviews (2)