OEM ATV & Four-Wheeler Service Manuals | Factory-Direct Data
Get the exact same technical specifications used by dealership technicians. Our digital library provides unedited factory scans and original OEM documentation, giving you the precise engineering data needed for everything from routine oil changes to full engine rebuilds and CVT calibrations.
Find the Right Manual for Your Machine
A generic search isn't enough when you're ordering parts or timing valves. To ensure your manual matches your specific VIN or model generation, we categorize our data by:
- Exact Factory Codes: Match your documentation to specific prefixes like Honda TRX, Yamaha YFM, or Suzuki LT-A to ensure wiring and frame specs are 100% accurate.
- Engine & Displacement: Get the correct valve clearances, piston ring gaps, and torque values for your specific CC-rating.
- Production Year: Access generation-specific protocols for EFI mapping and CVT clutching updates.
Deep-Dive Technical Specs
Don't guess when it comes to specialized off-road systems. Our workshop manuals cover the complex mechanics of modern quads:
- Drivetrain & 4WD: Complete diagnostic trees for 4WD actuators, transfer cases, and final drive assemblies.
- Suspension Layouts: Specific data for both Solid Rear Axle (SRA) and Independent Rear Suspension (IRS) setups.
- Transmission Tuning: Factory specs for Manual, Semi-Auto, and CVT systems, including belt deflection and pulley alignment.
Built for the Workshop
Our PDFs are designed to be used where the work happens. High-resolution scans (up to 1200 dpi) mean you can zoom in on intricate wiring diagrams or vacuum routings without losing clarity. Whether you’re using a rugged tablet in the garage or printing out pages for the workbench, the diagrams remain sharp and readable.
Lifetime Access & Expert Support
We stand behind our technical data. If a manual doesn't match your sub-model or VIN, our support team will make it right. Plus, with our Lifetime Access Guarantee, your purchase is backed up in the cloud. You can re-download your manual anytime, ensuring you have the data you need before your next ride.
Technical Safety & Document Verification Every manual in this category is an authentic reproduction of original manufacturer records. Working on ATVs and UTVs involves mechanical risks, especially regarding high-torque drivetrains and suspension stability. These datasets are provided for technical support and informational purposes. Always use proper equipment, follow torque specs, and consult a professional for safety-critical repairs like braking systems or ECU programming.
Atv Manuals (420 total results)
2000–2003 Honda TRX350 Rancher Service & Repair Manual (OEM)

2007–2012 Honda TRX420 FourTrax Rancher TRX420TM/TE/FM/FE/FPM/FPE Service Manual
Honda TRX200/TRX200D 1990–1997 Service Manual
2000 Yamaha YFM400FWA(M) Service Manual (P/N 5GH3-AE1)
2007–2013 Honda TRX420 Rancher Factory Service Manual (P/N 31600-HN7-003)
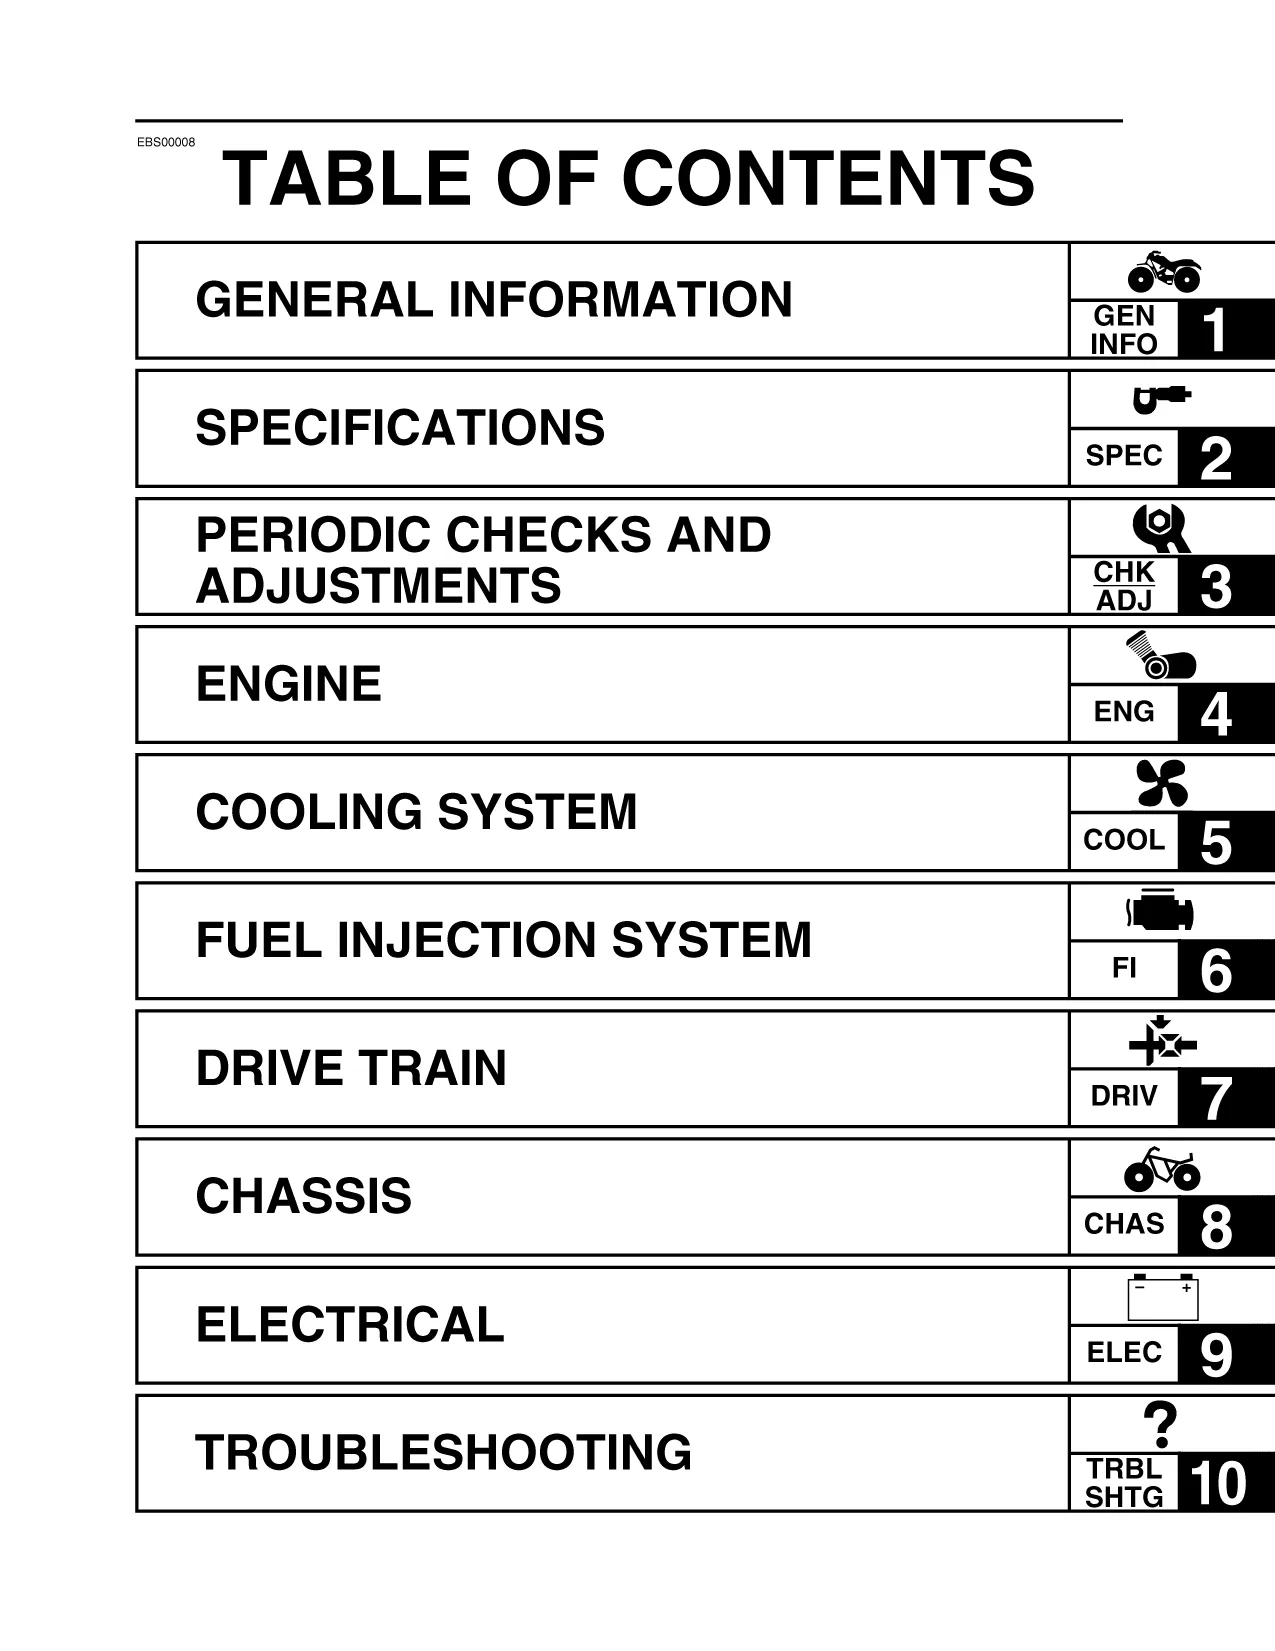
2008–2009 Yamaha Rhino 700 YXR70 Service Manual (P/N EBS00008)

Honda TRX420FA/FPA Rancher 2009–2012 4-Wheel ATV Repair Manual OEM
Suzuki LT230S & QuadSport 230 1986–1990 Factory Service Manual (P/N 99500-42034-01E)

1984–1987 Suzuki LT185, LT185E, LT185F, LT185G, LT185H QuadRunner Service Manual (P/N 99500-41054-01E)
2005–2012 Honda FourTrax Foreman Rubicon 500 Service & Repair Manual
2009 Yamaha YFZ450RY Service Manual OEM (P/N LIT-11616-22–75)
Yamaha YFM350FWBJ ATV 1997–1999 Service Manual (P/N LIT-11616-10–58)
1987–1988 Yamaha Terra Pro YFP350 Service Manual (P/N LIT-11616-06–46)

1989–2002 Suzuki QuadRunner 160 / LT160E ATV Service Manual (PN 99500–41112–01E)

1992–1996 Honda CR250R OEM Service Manual
1994–2000 Yamaha Timberwolf YFB250FWF Service Manual (P/N LIT-11616-09–11)

2006–2012 Honda TRX680FA & TRX680FGA Rincon Service Manual (OEM)
Kawasaki KSF250 Mojave All Terrain Vehicle 1987–2004 OEM Service Manual (P/N 99960-1017)
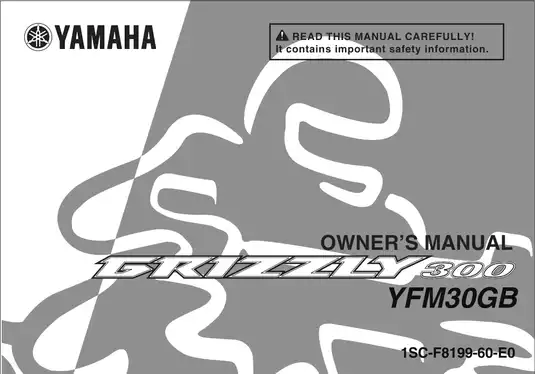
Yamaha Grizzly 300 / YFM0GB 2012–2013 Owner's Manual (P/N 1SC-F8199-60-E0)

Yamaha Grizzly 600, YFM600F ATV 1998–2001 Service Manual
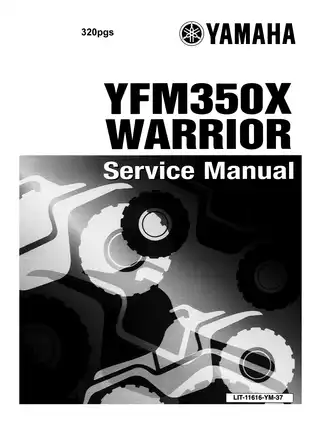
1987–2004 Yamaha Warrior 350, YFM350X ATV Factory Service & Repair Manual (P/N LIT-11616-YM-37)

1988–2002 Suzuki LT-F250 QuadRunner 250 Factory Service Manual (P/N 99500-42098-01E)
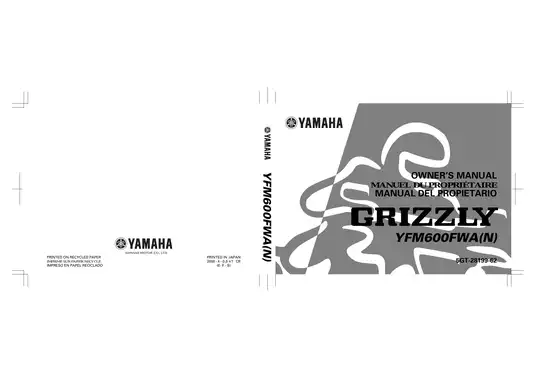
1998–2001 Yamaha Grizzly 600 YFM600 Factory Service Manual (P/N 5GT-28199-62)
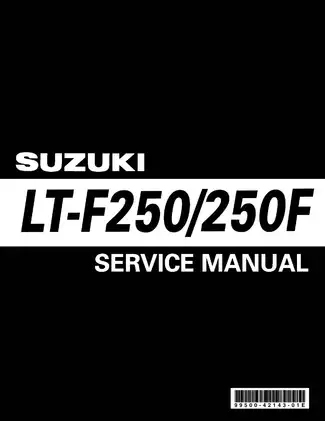
1999–2002 Suzuki LT-F250 / LT-F250F 4x4 Quadrunner 250 Factory Service Manual (P/N 99500-42143-01E)
2003–2007 Suzuki LT-F500F Vinson Service Manual (P/N 99500-44054)
2005–2006 Yamaha Grizzly 80 ATV Owner's Manual (P/N LIT-11626-19–03)
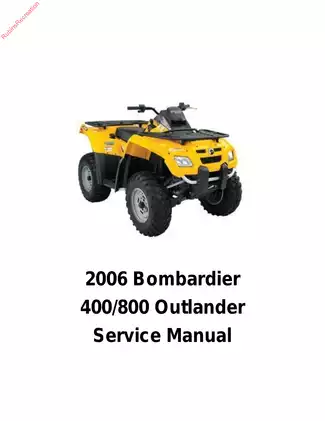
Bombardier Outlander 400/800 ATV 2006 Service Manual (P/N vmr2006-002)
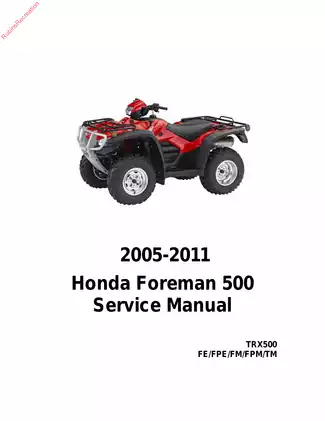
Honda Foreman 500 TRX500TM/FM/FE/FPM/FPE 2005–2011 OEM Service Manual (PN C4256-90954)
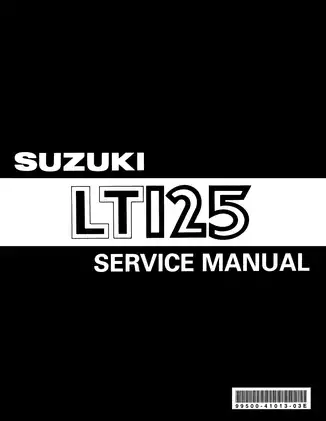
Suzuki LT125, LT125E, LT125F, LT125G, LT125H 1983–1987 Service Manual (P/N 99500-41013-03E)
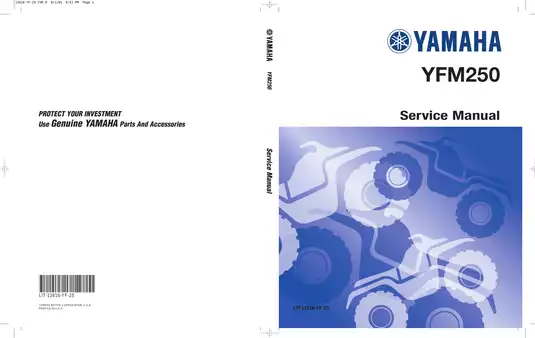
Yamaha YFM250 Moto 4 ATV 1989–1991 Service Manual (P/N LIT-11616-06–62 / LIT-11616-YF-25)
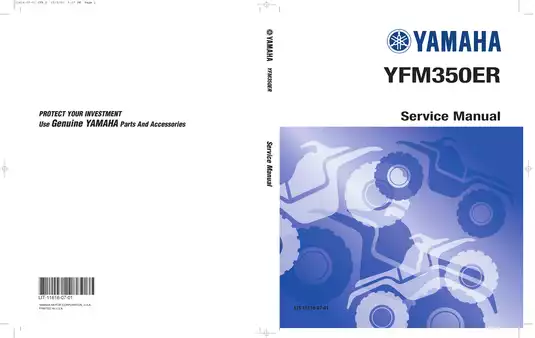
1987–1995 Yamaha YFM350ER Moto 4 ATV Service & Repair Manual (P/N LIT-11616-07–01)
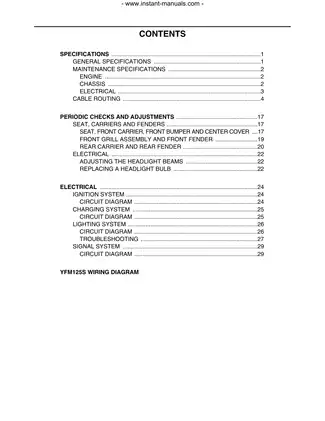
1989–2007 Yamaha YFA1 / YFM125 Breeze ATV Service Manual (P/N 3FA-28197-10)
1999 Bombardier Traxter ATV Shop Manual (P/N 413 708 400, VMR9932)

1999 Yamaha YFM400FWN/YFM400FWNC Big Bear 400 Service Manual (P/N LIT-11616-13–22)
2000 Arctic Cat 250cc, 300cc, 400cc, and 500cc ATV Service Manual OEM
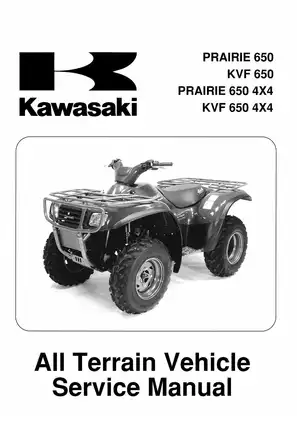
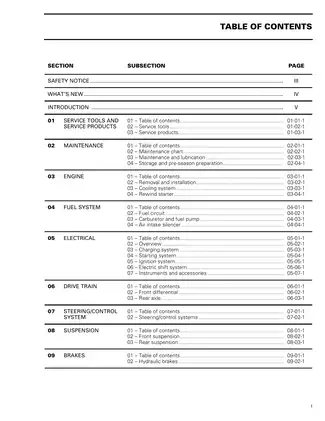
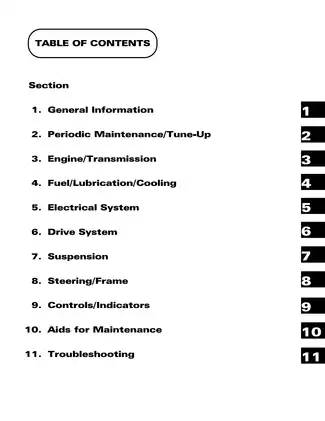
2002 Kawasaki KVF650, Prairie 650 4x4 Factory Service & Repair Manual (P/N 99967-1095–02)
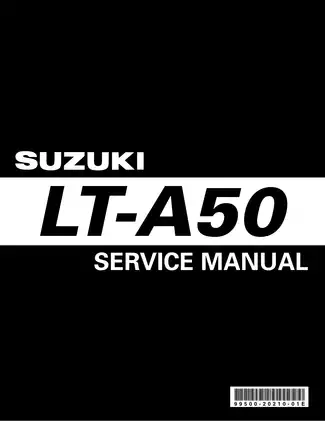
2002 Suzuki LT-A50 ATV Service & Repair Manual (P/N 99500-20210-01E)
2004 Arctic Cat ATV Service Manual 250, 300, 400, 500, TBX & TRV Models (P/N 0436-005)
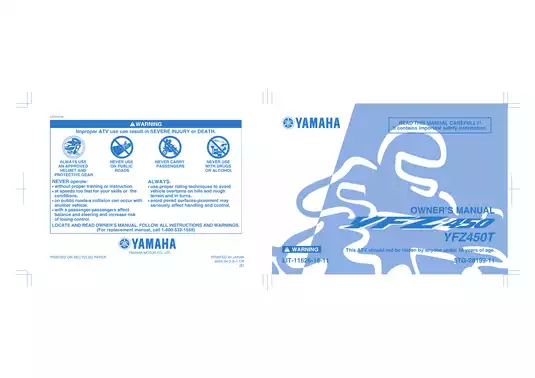
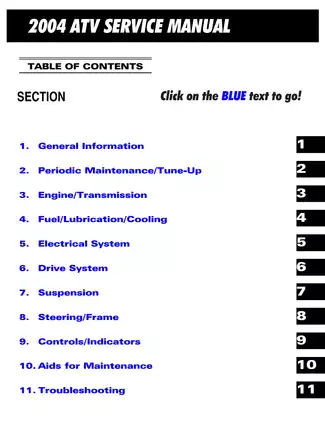
2004–2009 Yamaha YFZ450T, YFZ450S, YFZ450V, YFZ450W, YFZ450SEW, YFZ450 Service Manual & Owner's Manual (P/N LIT-11626-18–11)
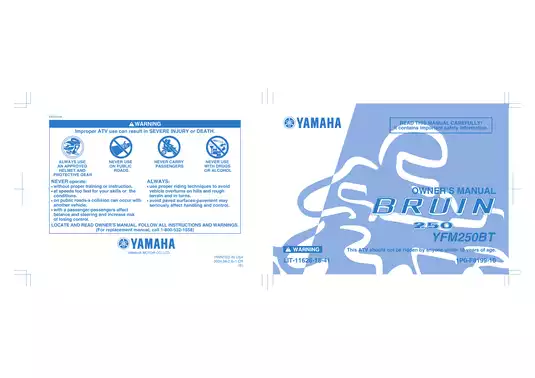
2005–2006 Yamaha Bruin 250 YFM250BT Owner's Manual (P/N LIT-11626-18–41)
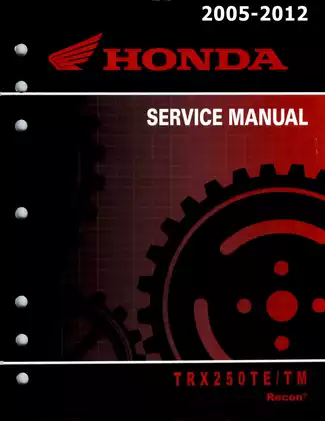
2005–2012 Honda TRX250TE/TM Service Manual (P/N 18747-112-000)
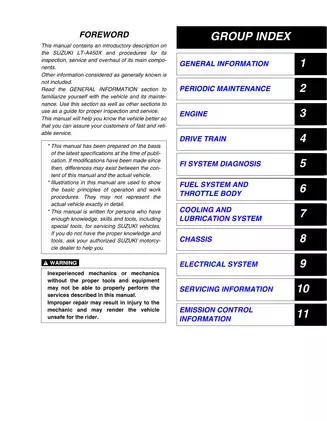
2007–2010 Suzuki KingQuad 450 LT-A450X Service Manual (P/N 99500-31082-031)
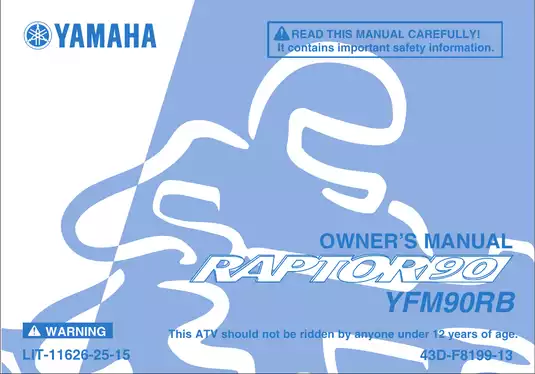
2011–2013 Yamaha Raptor 90 YFM90RB Owner's Manual (P/N LIT-11626-25–15)

2013 Arctic Cat 500 Mud Pro, 700 Mud Pro, 1000 Mud Pro und 1000 LTD ATVs Service Manual (P/N C4085-91017)
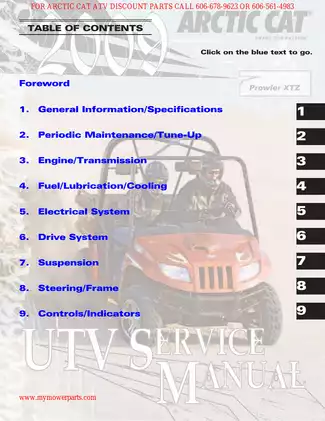
Arctic Cat Prowler XTZ ATV 2009 Factory Service Manual (P/N 2258-400)
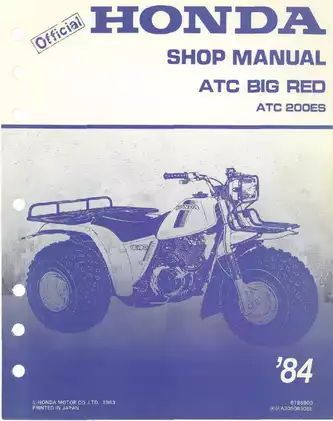
Honda ATC Big Red / ATC200ES 1984 OEM Service Manual (P/N 6196900)
Honda ATC200X 1983–1985 Factory Shop Manual (OEM)
Honda TRX250EX Sport ATV 2001–2005 Service Manual (P/N 94951-MEN-A10)
Honda TRX250TE/TM Fourtrax ATV Service Manual 1997–2004 (P/N 61TX400)
